
The age-old challenge of bonding rubber to wood. It might sound simple, but achieving a strong, durable bond between these two materials is crucial in many applications.
Think about the rubber pads on the bottom of wooden furniture or the rubber seals on wooden doors. The bond needs to be strong, flexible, and long-lasting.
Rubber-Wood Bonding
When it comes to bonding rubber and wood, there’s no one-size-fits-all solution. The adhesive you choose can vary based on the type of rubber, the kind of wood, and the specific requirements of your project.
Overview of adhesive options
Cyanoacrylate (CA) Glue: Often referred to as “super glue,” this adhesive bonds quickly and works well for small projects.
Polyurethane Adhesive: This is a flexible adhesive that’s resistant to impacts, making it ideal for applications that require some give.
Epoxy Resin: Known for its strong bond, epoxy works well for larger projects where a robust bond is essential.
When selecting an adhesive, consider the size of your project, the weight the bond will need to support, and any environmental factors like moisture or temperature changes.
Preparing for Bonding
Before you even think about applying adhesive, both surfaces need to be prepped.
Start by wiping down the rubber with isopropyl alcohol. This will remove any oils or residues that could interfere with the bond.
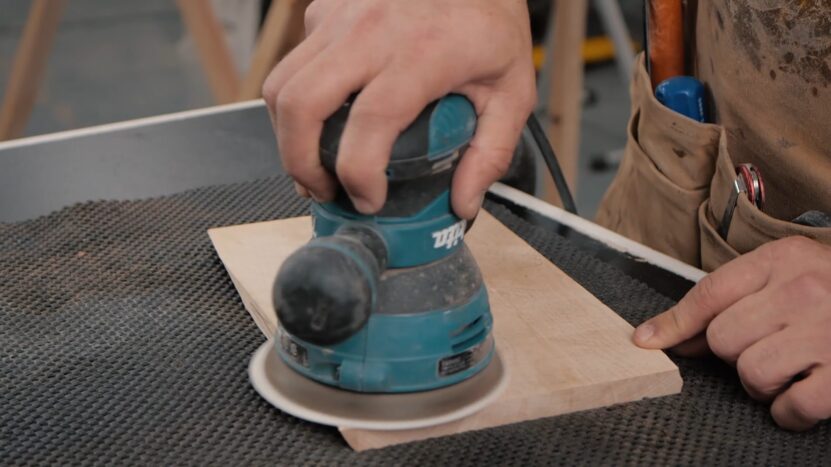
Using fine-grit sandpaper, lightly sand the wood surface where you’ll be applying the adhesive. This creates a rougher surface, which helps the adhesive grip better.
Choosing the Right Adhesive
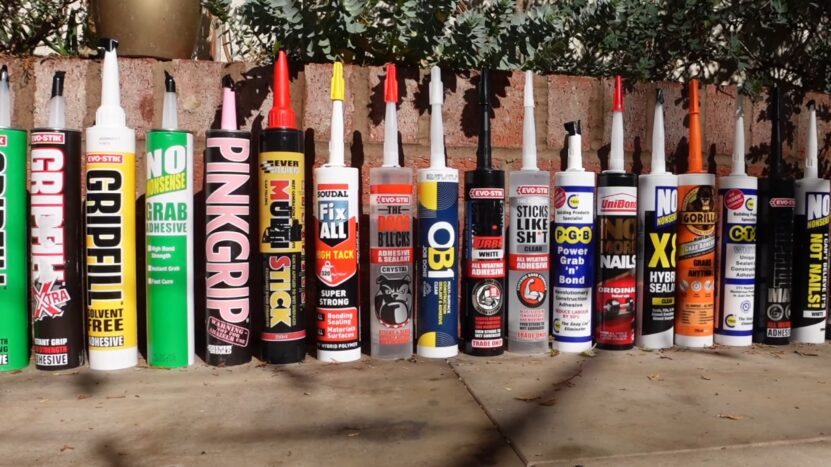
With so many adhesive options on the market, how do you choose the right one for your rubber-wood bonding project?
Rubber-friendly adhesive options
Silicone-based adhesives: These are flexible and water-resistant, making them great for outdoor projects.
Contact Cement: This adhesive forms a strong bond between rubber and wood and is resistant to heat.
Considering factors like flexibility, durability, and weather resistance. If your bonded items will be outdoors, you’ll want an adhesive that’s weather-resistant. For items that might be moved or flexed often, a more flexible adhesive is ideal.
Step-by-Step Application Process
Applying Adhesive to Rubber
- Ensure the rubber is clean and dry.
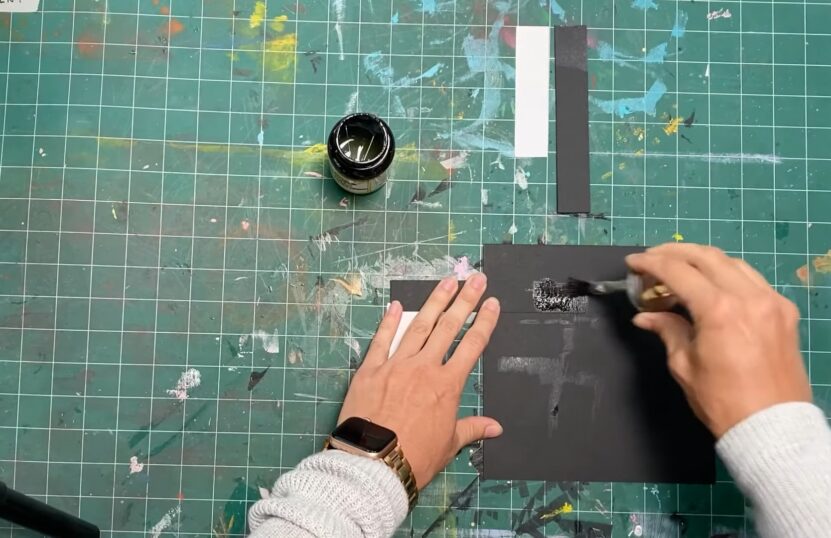
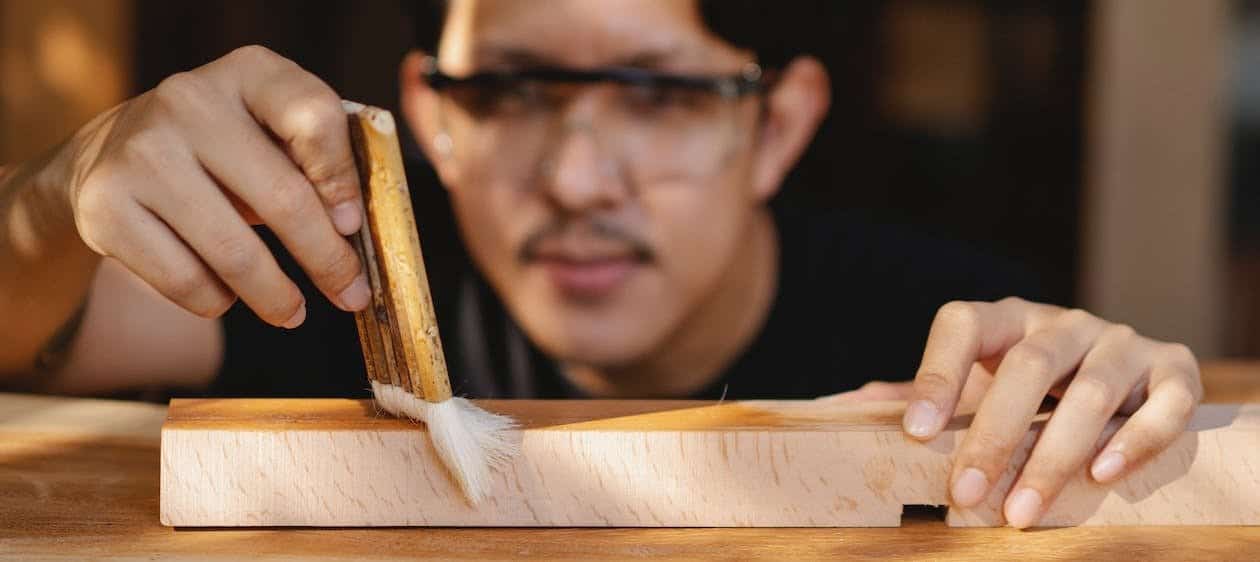
- Using a brush or applicator, spread a thin, even layer of adhesive onto the rubber. Remember, less is more. Too much adhesive can cause a weak bond or seep out from the sides.
Applying Adhesive to Wood
- Make sure the wood is sanded and free of dust.
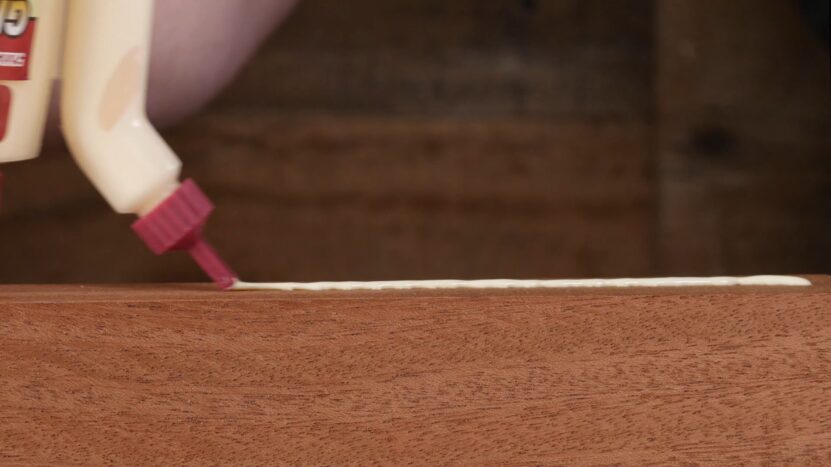
- Spread the adhesive uniformly over the wood surface. Depending on the adhesive, you might use a brush, spatula, or even a roller.
Joining Rubber and Wood
Once you’ve applied the adhesive to both surfaces, it’s time to join them together. Place the rubber onto the wood, ensuring you align them precisely as intended.
Press down firmly, ensuring there are no air bubbles trapped between the two surfaces. If you’re working on a larger project, you might consider using clamps to maintain pressure while the adhesive cures.
Curing and Drying
The curing process is crucial for achieving a strong bond. While some adhesives set quickly, they might take longer to cure fully. Ensure you allow the recommended curing time, which can vary from a few hours to several days, depending on the adhesive used.
Allowing sufficient time for curing: It’s tempting to test the bond immediately, but patience pays off. Give the adhesive ample time to cure to ensure maximum bond strength.
Ideal curing conditions for a strong bond: Most adhesives cure best in a dry, warm environment. Avoid areas with high humidity or extreme temperature fluctuations during the curing process.
Testing the Bond
Once the adhesive has fully cured, it’s time to test the bond’s strength. Gently pull the rubber away from the wood to see if the bond holds. If the rubber detaches easily, you might need to reapply the adhesive and try again.
Gentle tug test to check adhesion strength: This simple test can give you a good idea of the bond’s strength. If the bond holds firm during a gentle tug, it’s likely strong enough for most applications.
Reapplying adhesive if necessary: If the bond fails, don’t get discouraged. Review your process to see if you missed any steps, and try again.
Factors Affecting Bond Strength
A few factors can influence the strength of the bond between rubber and wood.
Environmental conditions: Humidity, temperature, and exposure to UV light can all affect adhesive performance. Always consider the environment where the bonded items will be used.
Type of rubber and wood used: Different types of rubber and wood have varying properties. For instance, hardwoods like oak might bond differently than softwoods like pine.
Tips for Ensuring a Long-Lasting Bond
Proper surface preparation: As mentioned earlier, clean and well-prepared surfaces are key to a strong bond. Don’t skip this step!
Avoiding exposure to extreme conditions: While some adhesives are designed for outdoor use, prolonged exposure to extreme conditions can weaken the bond over time. If possible, keep bonded items in a stable environment.
Troubleshooting Common Issues
Even with the best preparations, sometimes things don’t go as planned. Here are some common issues and how to address them:
Adhesion failure reasons and solutions
Weak Bond: This can be due to insufficient adhesive, unclean surfaces, or not allowing enough curing time. Solution: Reapply the adhesive after properly cleaning and preparing the surfaces.
Bubbles in the Bond: This can be caused by trapped air. Solution: Press out any potential pockets of air when joining the surfaces.
Dealing with uneven bonding
If one part of the rubber adheres well while another doesn’t, it might be due to uneven adhesive application.
Solution: Ensure a uniform layer of adhesive on both surfaces.
Safety Precautions
Safety first! When working with adhesives:
Ventilation: Always work in a well-ventilated area to avoid inhaling fumes from the adhesive.
Protective Equipment: Wear gloves to prevent skin contact and safety goggles to protect your eyes from any accidental splashes.
Alternatives for Rubber-Wood Bonding
While adhesives are a popular choice, there are other methods to consider:
Mechanical fastening options
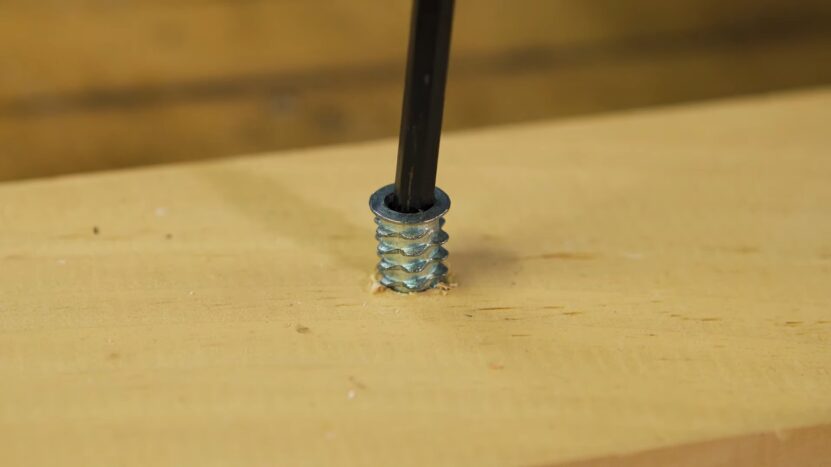
Screws and Washers: These can be used to physically attach rubber to wood, especially for larger pieces.
Staples: Suitable for thin sheets of rubber.
Combination with other materials
Sometimes, introducing a third material, like a fabric mesh, can help bridge the gap between rubber and wood, providing an intermediary surface to bond to.
FAQ
Can I use household glues for bonding rubber to wood?
While some household glues might provide temporary adhesion, they’re not recommended for a durable bond between rubber and wood.
How long should I wait before testing the bond strength?
It’s best to wait at least 24 hours, but always refer to the adhesive’s manufacturer guidelines for optimal curing times.
Is there a way to speed up the curing process?
Some adhesives offer accelerators to reduce curing time, but it’s essential to ensure they’re compatible with your chosen adhesive.
Can I bond rubber to treated or painted wood?
Yes, but ensure the surface is clean and consider lightly sanding it for better adhesion.
What if I accidentally get adhesive on my skin?
Immediately wash the area with warm soapy water. For stubborn residues, a safe adhesive remover can be used.
Conclusion
Bonding rubber to wood might seem straightforward, but the devil is in the details. With the right adhesive, proper surface preparation, and a bit of patience, you can achieve a bond that’s both strong and long-lasting.
Whether you’re working on a DIY project at home or a professional job, the techniques and tips shared here will ensure your rubber and wood bond stands the test of time.