Ever thought about combining the elegance of glass with the rustic charm of wood? Well, you’re not alone. Gluing glass to wood is a skill that’s super handy for crafters and DIY enthusiasts alike.
Whether you’re fixing picture frames, and mirrors, or just getting creative, having the right tools and know-how is crucial.
Fun Fact: Did you know that the process of gluing glass to wood is not as complex as it sounds? With the right adhesive and a bit of patience, you can achieve a bond that’s both strong and aesthetically pleasing.
Safety Precautions

Before we jump into the process, let’s talk safety. When working with powerful adhesives, it’s essential to take some precautions to ensure you’re not putting yourself at risk.
- Protective Gear: Always wear protective gloves and goggles. Some adhesives can be pretty potent, and you don’t want any of that stuff on your skin or in your eyes.
- Well-Ventilated Workspace: Make sure you’re working in an area with good airflow. Many adhesives release fumes that you don’t want to be inhaling. A well-ventilated space ensures that any harmful fumes are quickly dispersed.
Pro Tip: Always store your glue in an airtight container when not in use. This not only keeps the glue from drying out but also prevents any fumes from escaping.
Selecting the Right Adhesive
Choosing the right adhesive is half the battle. Since you’re working with two very different surfaces, you need a glue that bonds well with both.
Types of Adhesives
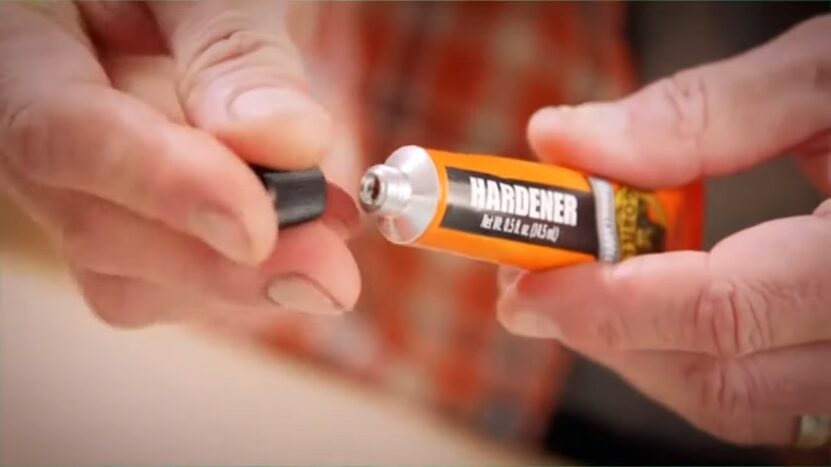
There are several types of adhesives you can use. Epoxy adhesive is a popular choice due to its strong bonding qualities. It’s versatile and can be used on a wide range of surfaces. Other options include superglue, silicone glue, and even hot glue from a glue gun. Each has its pros and cons, so choose based on your project’s requirements.
Considerations for Choosing the Right Adhesive
Think about where your project will be placed. Will it be indoors or outdoors? Do you need the adhesive to dry clear? How long can you hold the items together while the adhesive cures? Answering these questions will help you pick the perfect glue for your project.
Surface Preparation
Alright, let’s prep our surfaces!
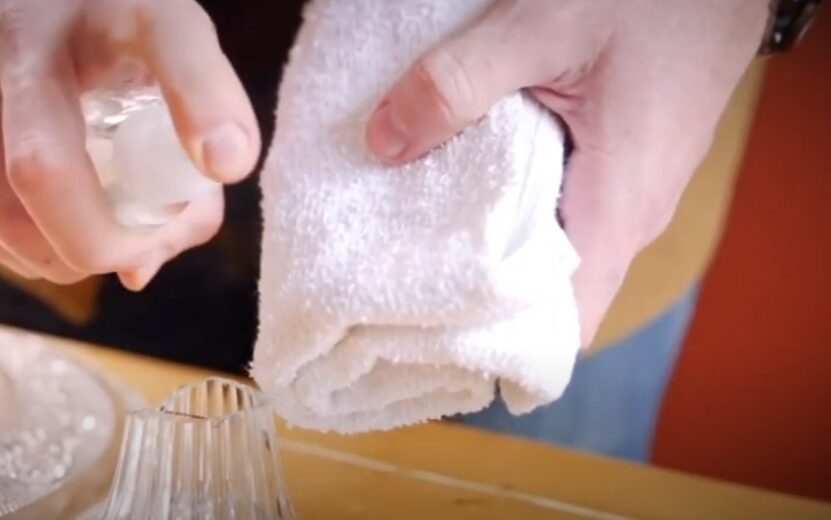
- Cleaning the Glass: Start by cleaning the glass thoroughly. Use a glass cleaner and wipe it down with a soft cloth. This ensures a clean surface for the adhesive to bond with.
- Preparing the Wood Surface: Wipe down the wood with a damp cloth to remove any dust or debris.
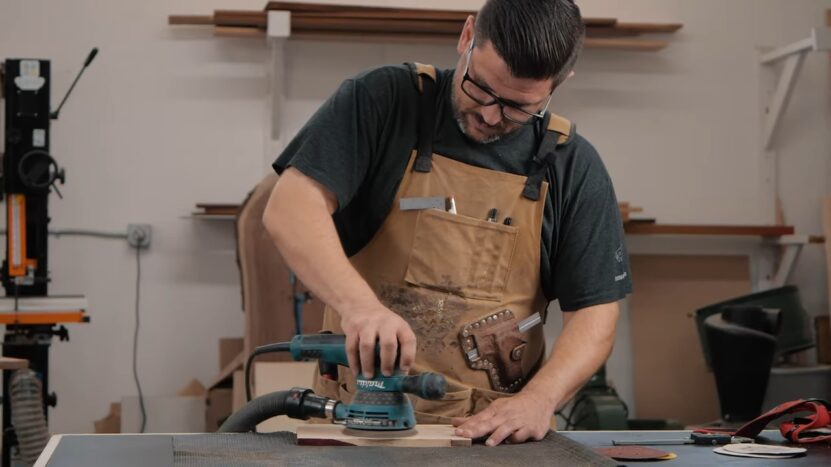
- Sanding (if necessary): If the wood surface is too smooth, consider giving it a light sanding. This will help the adhesive grip better.
Fun Fact: Did you know that ensuring both surfaces are completely clean and free of oils or residues can significantly improve the bond’s strength?
Applying the Adhesive
Once you’ve chosen your adhesive and prepped your surfaces, it’s time to get gluing!
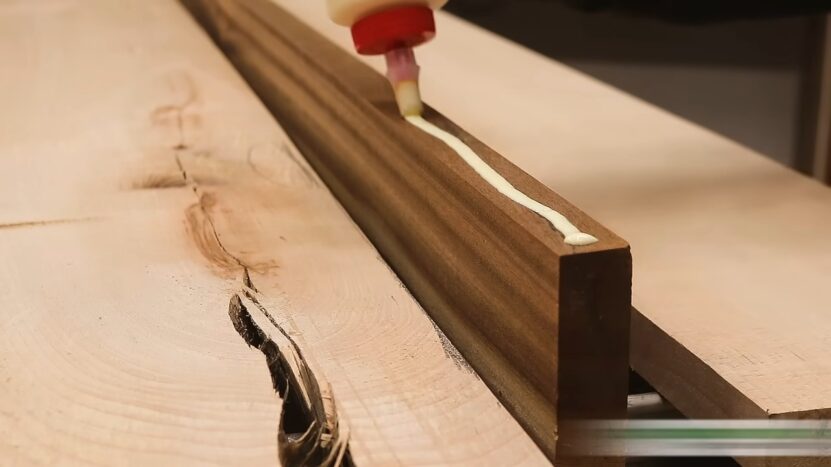
- Using the Right Tools: Depending on the adhesive you’ve chosen, you might need a brush, spatula, or even a syringe to apply it. Make sure you have the right tool for the job to ensure an even application.
- Applying a Thin, Even Layer: Less is more when it comes to adhesive. Apply a thin, even layer to ensure a strong bond. Too much glue can cause a mess and might not result in a stronger bond.
Pro Tip: Always test a small amount of adhesive on a scrap piece of wood and glass to ensure it bonds well and looks good.
Bonding Glass to Wood
Now, the moment of truth!
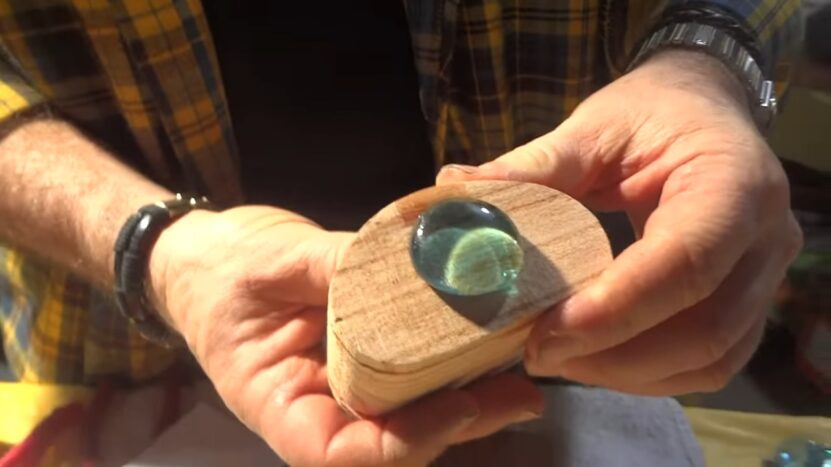
- Proper Alignment: Before the adhesive sets, make sure your glass is aligned correctly on the wood. This is especially crucial for projects where precision is key, like picture frames.
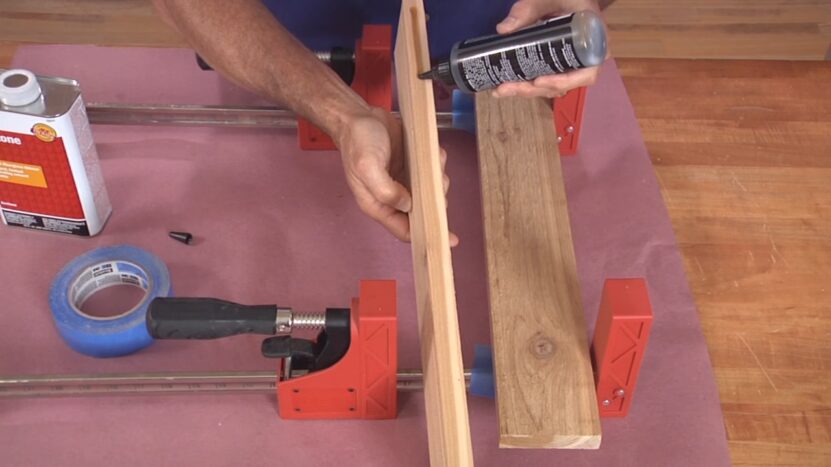
- Applying Even Pressure: Once aligned, apply even pressure to ensure the glass bonds well to the wood. You can use clamps, weights, or even your hands, depending on the size of your project.
- Curing Time: Different adhesives have different curing times. Some might set in a few minutes, while others might take hours or even days. Always check the manufacturer’s instructions and give it the time it needs.
Fun Fact: The curing time can sometimes be affected by environmental factors like temperature and humidity. So, if you’re working in a particularly cold or damp environment, it might take longer for your adhesive to set.
Post-Bonding Steps
Once your adhesive has cured, there are a few final steps to ensure your project looks its best.
- Removing Excess Adhesive: If any adhesive has oozed out from between the glass and wood, now’s the time to remove it. Depending on the type of adhesive, you might be able to peel it off, scrape it away, or even wipe it off with a solvent.
- Cleaning Any Spills: If you’ve accidentally spilled any adhesive on areas where it shouldn’t be, clean it up immediately. Some adhesives can damage surfaces or leave stains if left unattended.
- Final Inspection: Give your project a once-over. Ensure the bond is strong, and there are no gaps or bubbles.
Tips and Troubleshooting
Even with the best preparation, things can sometimes go awry. But don’t worry, we’ve got you covered!
- Tips for a Stronger Bond: Ensure both surfaces are completely clean and free of oils or residues. If the wood is very smooth, consider giving it a light sanding to help the adhesive grip better.
- Common Issues and Solutions: If you find that your bond isn’t as strong as you’d like, it might be due to using the wrong adhesive, not applying enough pressure, or not giving the adhesive enough time to cure. Always refer back to the manufacturer’s instructions if in doubt.
FAQ
Can I use regular school glue to bond glass to wood?
No, regular school glue isn’t strong enough to bond glass to wood effectively. It’s best to use specialized adhesives like epoxy or silicone glue for a durable bond.
Is it possible to remove the adhesive once the glass is bonded to wood?
Yes, but it can be challenging. Depending on the adhesive used, you might need a solvent or a scraper. Always proceed with caution to avoid damaging the surfaces.
How can I strengthen the bond between glass and wood?
Using a primer before applying the adhesive can enhance the bond. Additionally, ensuring both surfaces are clean and roughening the wood slightly can also help.
Are there any natural alternatives to commercial adhesives for this purpose?
While there are natural adhesives like hide glue, they might not provide the strength and durability needed for bonding glass to wood.
Can I paint or varnish over the adhesive once it’s dried?
Yes, many adhesives can be painted or varnished over once they’re fully cured. However, always check the adhesive’s label to be sure.
How do I prevent air bubbles from forming when bonding glass to wood?
Apply the adhesive evenly and avoid using excessive amounts. Pressing the glass firmly and evenly onto the wood can also help eliminate any trapped air.
Wrapping Up
So there you have it! With the right tools, adhesive, and a bit of patience, you can successfully glue glass to wood. Whether you’re working on a craft project, home repair, or just trying something new, the satisfaction of doing it yourself is unbeatable.
So, why not give it a try? Happy crafting!